Creating Workflows
Learn how to build, test, and deploy automated workflows that streamline your practice operations.
Getting Started
Prefer to describe your automation in plain English? The AI Co-builder lets you type what you want and receive a complete draft workflow to review, edit, and save — no manual node-building required.
Accessing the Workflow Builder
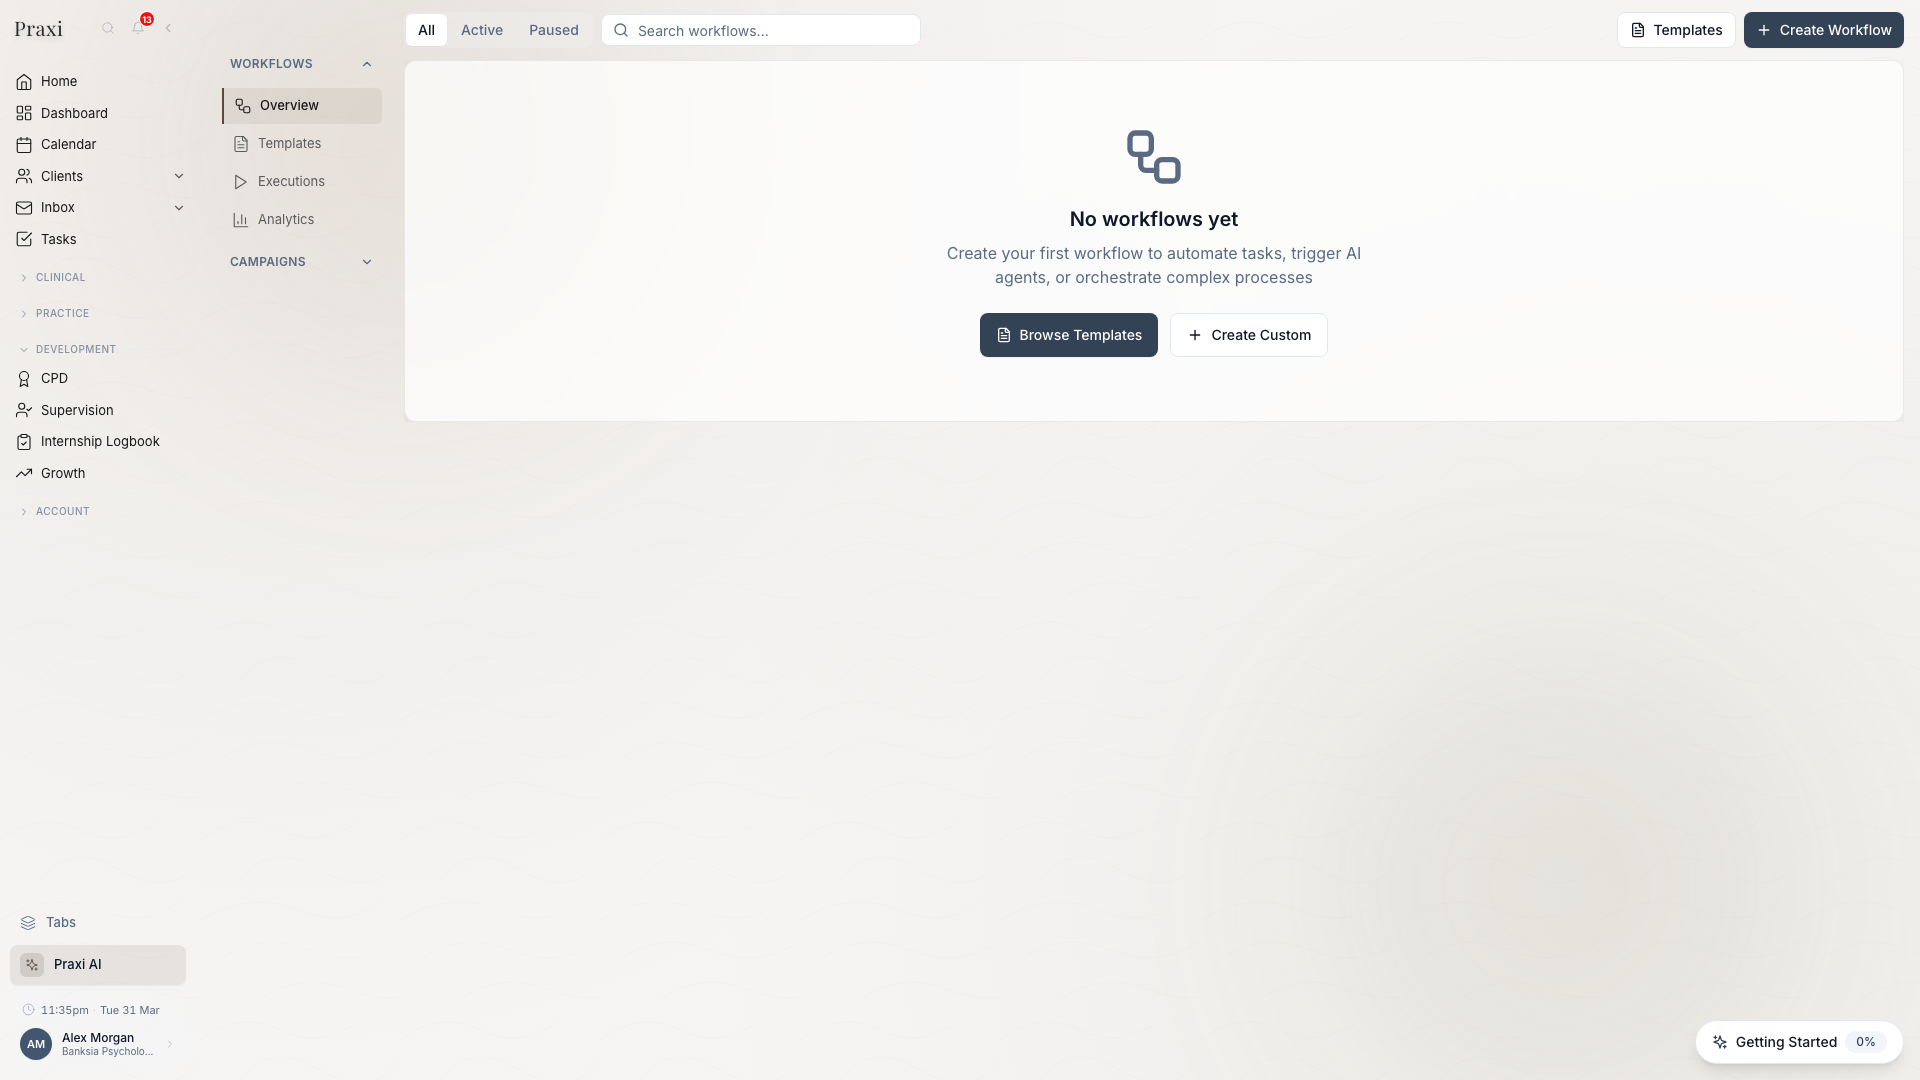
- Go to Workflows in the Practice section of the sidebar
- Click Create Workflow
- Choose:
- Start from template - Pre-built workflows
- Start from scratch - Blank canvas
Workflow Builder Interface
| Area | Purpose |
|---|---|
| Canvas | Visual workflow design area |
| Node palette | Drag nodes onto canvas |
| Properties panel | Configure selected node |
| Toolbar | Save, test, activate, undo/redo |
| Minimap | Navigate large workflows |
Step-by-Step Creation
Step 1: Name Your Workflow
- Click the workflow name (top left)
- Enter a descriptive name
- Add a description explaining the purpose
- Select a category for organisation
| Good Name | Bad Name |
|---|---|
| "New Client Welcome Sequence" | "Workflow 1" |
| "Invoice Overdue Reminder (7 days)" | "billing" |
| "AHPRA Expiry Alert - 30 Days" | "credential check" |
Step 2: Add a Trigger
Every workflow starts with a trigger:
- Drag Trigger node from palette
- Click to configure
- Select trigger type:
- Event -- when something happens in Praxi
- Schedule -- at specific times (daily, weekly, monthly)
- Manual -- user-initiated on demand
- Webhook -- external system calls Praxi
- Invoice Event -- invoice lifecycle events
- Client Event -- client-specific events
- Form Event -- form submitted, started, or expired
- Feedback Event -- feedback submitted, resolved, or escalated
- Configure trigger settings
Step 3: Add Action Nodes
Add actions that the workflow will perform:
- Drag Action node onto canvas
- Connect from trigger (click and drag)
- Click action to configure
- Select action type
- Fill in action parameters
Available Actions
| Category | Actions |
|---|---|
| Communication | Send email, Send SMS, Push notification |
| Client | Create client, Update client details |
| Appointment | Create appointment |
| Billing | Create invoice, Determine MBS item, Submit Medicare claim, Submit HealthPoint claim, Process Tyro payment |
| Task | Create task |
| Assessment | Send assessment to client |
| Telehealth | Create telehealth session, Send telehealth reminder |
| File | Tag file, Verify file, Share file, Notify file uploaded, Auto-categorise file, Run OCR |
| Document | Generate document from template |
| Form | Send form to client and optionally wait for completion |
| Payment | Query overdue invoices, Evaluate reminder rules, Send payment reminder, Escalate payment |
Step 4: Add Decision Points
Add conditions to create branching logic:
- Drag Condition node
- Connect from previous node
- Configure the condition
- Connect True and False paths
Condition: client.is_new equals true
  ├─ True → Send welcome email
  └─ False → Send standard reminder
Step 5: Add Delays (Optional)
Insert waiting periods:
- Drag Delay node
- Set duration:
- Seconds, minutes, hours, days, or weeks
- Until a specific date and time
Trigger: Appointment created
  ↓
Delay: Wait until 24 hours before appointment
  ↓
Action: Send reminder SMS
Step 6: Add an End Node
Explicitly end workflow paths:
- Drag End node
- Connect from final action
- Optionally add completion status
While not strictly required, End nodes make workflow logic clearer and help with debugging.
Node Configuration
Communication Nodes
Send Email
| Field | Description |
|---|---|
| To | Recipient(s) - can use variables |
| Template | Email template to use |
| Subject | Email subject line |
| Variables | Data to merge into template |
| Attachments | Optional file attachments |
To: {{client.email}}
Template: appointment-reminder
Subject: Reminder: Your appointment tomorrow
Variables:
  - client_name: {{client.full_name}}
  - appointment_date: {{appointment.date}}
  - practitioner: {{appointment.practitioner.name}}
Send SMS
| Field | Description |
|---|---|
| To | Mobile number (must start 04) |
| Message | SMS content (160 char limit) |
| Variables | Data to merge |
To: {{client.mobile}}
Message: "Hi {{client.first_name}}, reminder of your appointment tomorrow at {{appointment.time}} with {{practitioner.name}}. Reply YES to confirm."
Document Generation Nodes
Generate documents from templates with AI:
| Field | Description |
|---|---|
| Template | Document template to generate from |
| Format | Output format (PDF, DOCX, or HTML) |
| Send to | Email address to send the generated document to |
Form Nodes
Send forms to clients and optionally pause the workflow until the form is completed:
| Field | Description |
|---|---|
| Form template | Which form to send |
| Delivery | How to deliver (email, SMS, portal, in-session) |
| Expiry | Days until the form link expires |
| Wait | Whether to pause the workflow until submitted |
| Reminders | Reminder schedule (e.g. 3 days and 1 day before) |
Agent Nodes (AI)
Use AI agents for complex decisions:
| Field | Description |
|---|---|
| Agent | Which AI agent to use |
| Task | What the agent should do |
| Context | Data to provide |
| Output variable | Store agent response |
Agent: Clinical Assistant (Praxi)
Task: "Review this note and suggest improvements"
Context: {{note.content}}
Output: suggested_improvements
Approval Nodes
Require human approval before continuing:
| Field | Description |
|---|---|
| Approver(s) | Who can approve |
| Message | What needs approval |
| Timeout | Auto-action if no response |
| Options | Approve, Reject, other |
Approver: Practice Owner, Supervisor
Message: "Client {{client.name}} has requested account closure. Approve?"
Timeout: 48 hours → Escalate to admin
Options: Approve, Reject, Request more info
Testing Workflows
Test Mode
- Click Test in toolbar
- Enter sample trigger data
- Click Run Test
- Watch execution step by step
- Review results at each node
Test Data
Provide realistic test data:
{
  "client": {
    "id": "test-123",
    "first_name": "Jane",
    "last_name": "Smith",
    "email": "jane.test@example.com",
    "mobile": "0400000000"
  },
  "appointment": {
    "id": "apt-456",
    "date": "2024-01-20",
    "time": "10:00",
    "type": "Initial Consultation"
  }
}
Test Execution Results
| Status | Meaning |
|---|---|
| ✅ Passed | Node executed successfully |
| ⚠️ Skipped | Condition was false |
| ❌ Failed | Error occurred |
| ⏸️ Waiting | Delay or approval pending |
Preview Actions
In test mode, actions are simulated:
- Emails shown but not sent
- SMS shown but not sent
- Database changes shown but not applied
Activating Workflows
Pre-Activation Checklist
- All nodes configured
- All paths have endpoints
- Test execution successful
- Error handling in place
- Reviewed by team member
Activation Steps
- Click Activate in toolbar
- Review activation summary
- Confirm activation
- Workflow is now live
Managing Workflows
Workflow States
| State | Description |
|---|---|
| Inactive | Being built or temporarily stopped (not processing) |
| Active | Running and processing triggers |
Deactivating a Workflow
- Go to workflow details
- Toggle the active switch off
- Running executions continue to completion
- New triggers are ignored
- Toggle back on to reactivate
Editing Active Workflows
Changes to active workflows take effect immediately. Test thoroughly before saving.
Options for safe editing:
- Deactivate first - Turn off, edit, test, reactivate
- Clone - Copy the workflow, edit the clone, test, then swap
Workflow Versions
Praxi automatically increments the workflow version number each time you make structural changes (adding, removing, or reconnecting nodes). The current version is displayed in the workflow details.
Workflow Templates
Using Templates
- Go to Workflows → Templates
- Browse categories
- Preview template
- Click Use Template
- Customise for your practice
Built-in Templates
Praxi includes a large library of pre-built templates. Here are some popular ones:
| Template | Description |
|---|---|
| Appointment Reminder Sequence | SMS and email before sessions |
| New Client Welcome Sequence | Email, intake forms, and scheduling prompt |
| Invoice Overdue Escalation | Multi-step payment reminder sequence |
| Unsigned Notes Reminder | Daily AHPRA compliance check |
| Client Birthday Greeting | Annual client message |
| No-Show Follow-up | Automatic outreach after missed sessions |
| MHCP Session Tracking | Monitor Mental Health Care Plan sessions |
| Consent Expiry Reminders | 30/14/7 day consent renewal warnings |
| AI Client Intake Automation | AI-assisted intake with agent nodes |
| Treatment Plan Review | Scheduled review reminders |
| Inactive Client Re-engagement | Re-engage clients after inactivity |
Error Handling
Automatic Retries
Praxi automatically retries failed nodes with exponential backoff:
| Setting | Default | Description |
|---|---|---|
| Max retries | 3 | Attempts before marking as failed |
| Initial delay | 1 second | Wait before the first retry |
| Max delay | 60 seconds | Maximum wait between retries |
| Backoff | Exponential | Each retry waits twice as long (2x) |
If a particular service keeps failing, Praxi's circuit breaker automatically stops sending requests to it temporarily. After 30 seconds, the system tests whether the service has recovered before resuming normal operation.
Error Notifications
Get alerted on failures:
- Go to Workflow Settings
- Enable Error notifications
- Set recipients
- Choose notification channel
Error Recovery
When workflows fail:
- Check execution history
- Identify failed node
- Review error message
- Fix the issue
- Retry or skip the failed execution
Best Practices
Design Principles
- Keep it simple - Start with 5-7 nodes
- Single purpose - One workflow per goal
- Clear naming - Descriptive node names
- Document logic - Add notes for complex parts
- Handle errors - Plan for failures
Performance Tips
- Minimise delays - Only when necessary
- Batch where possible - Group similar actions
- Avoid deep nesting - Keep conditions flat
- Use templates - Reuse proven patterns
Maintenance
| Task | Frequency |
|---|---|
| Review active workflows | Monthly |
| Check execution logs | Weekly |
| Test critical workflows | After updates |
| Archive unused workflows | Quarterly |
| Update templates | As needed |
Permissions
| Action | Who Can Do This |
|---|---|
| View workflows | Practice owner, practice manager |
| Create workflows | Practice owner |
| Edit workflows | Practice owner |
| Delete workflows | Practice owner |
| Activate/deactivate | Practice owner |
| View history | Practice owner, practice manager |
Troubleshooting
Workflow Not Running
- Verify workflow is active (not paused)
- Check trigger configuration
- Verify trigger event occurred
- Review permission settings
- Check execution limits
Actions Not Working
- Check action configuration
- Verify required fields filled
- Check variable syntax
- Review error logs
- Test with sample data
Performance Issues
- Simplify complex workflows
- Reduce unnecessary delays
- Split large workflows
- Check for infinite loops
- Review execution metrics